Ничто так не оживит новогодний стол, как яркий новогодний подсвечник! Он не только создаст неповторимый рождественский дух, но и может быть использован позже для других торжеств, семейных ужинов или дяже для свиданий. Следуйте нашему пошаговому рокуводству и смастерите неповторимое украшение своими руками.
Необходимые инструменты
18V ONE+™ Cordless Compact Drill Driver
18V ONE+™ Cordless Palm Sander
18V ONE+™ Cordless Mitre Saw
18V ONE+™ Cordless 18 Gauge Nailer
18V ONE+™ Cordless 150mm Circular Saw
ШАГ 1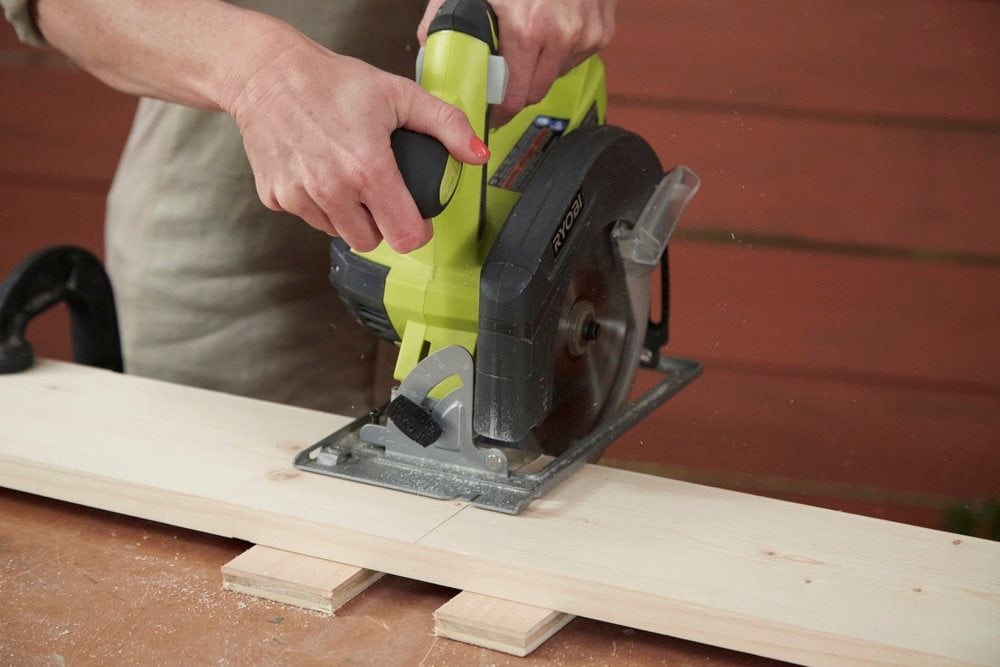
Start by cutting your 1x6 board. Make 4 cuts at 60cm each using a 18V ONE+™ Cordless Mitre Saw or 18V ONE+™ Cordless 150mm Circular Saw.
ШАГ 2
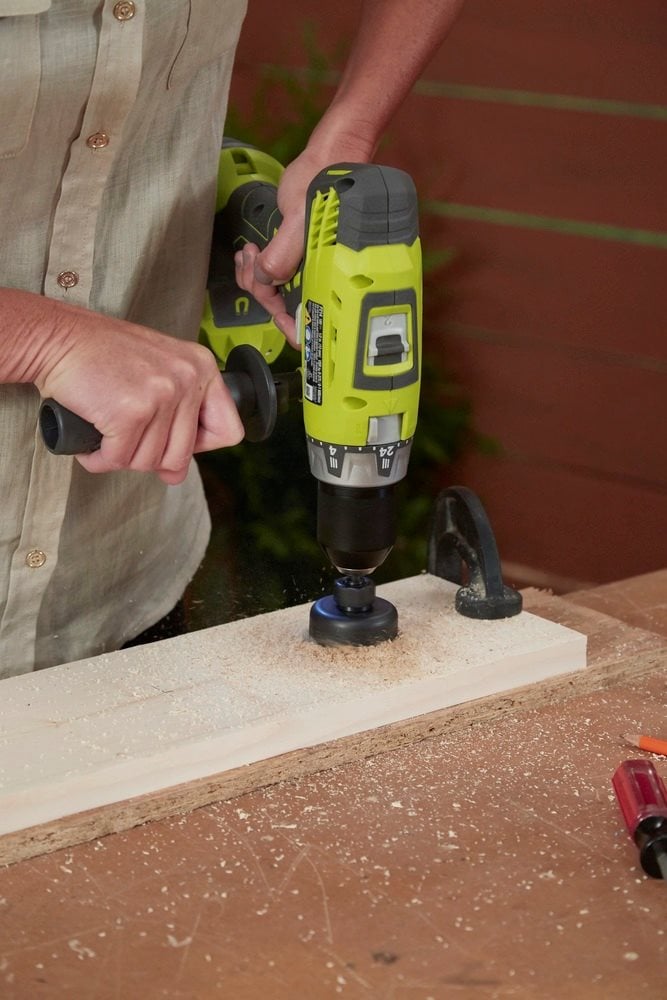
Use your 18V ONE+™Cordless Drill with a hole saw attachment to make 4 holes through one of the 60cm boards. Space them evenly about every 12cm.
ШАГ 3
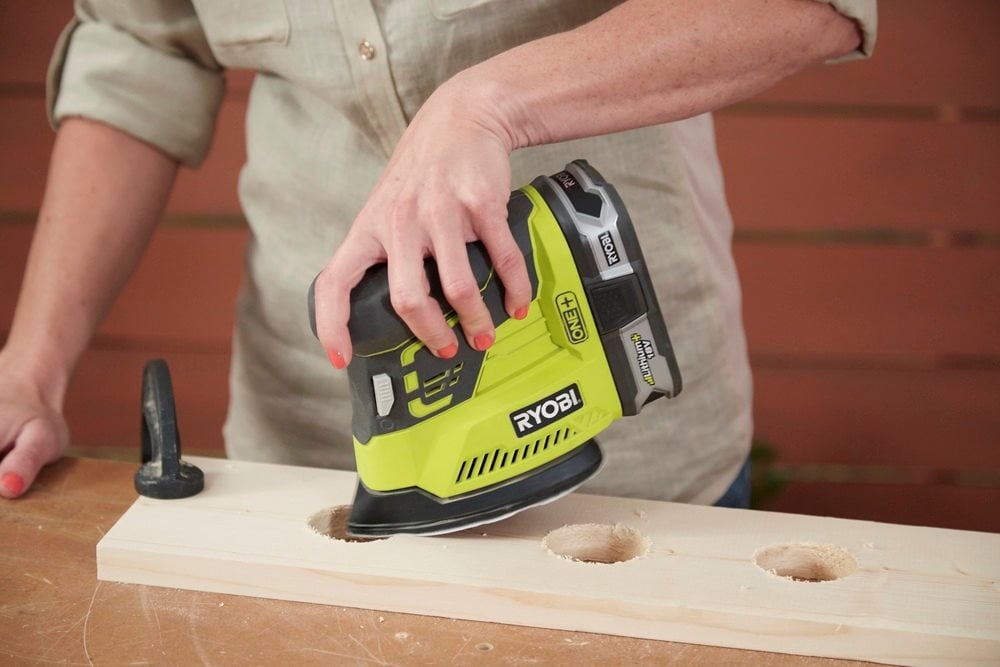
Once your holes are cut, use a 18V ONE+™ Cordless Palm Sander to smooth the edges.
ШАГ 4
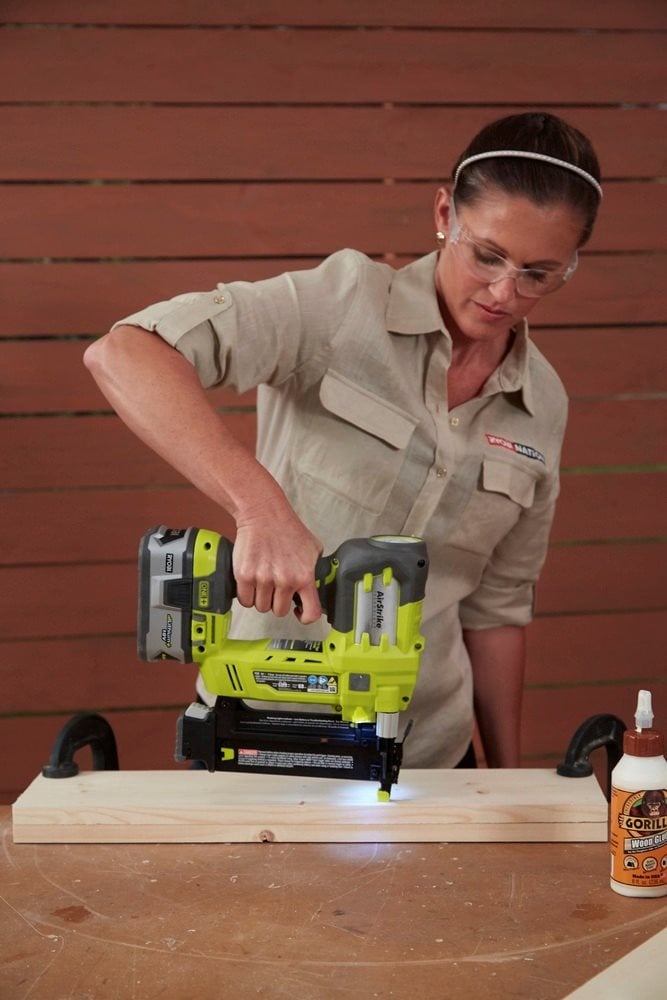
Now it’s time to attach all of your boards. Use wood glue between each board, and stack the 3 boards without holes first. Hold the boards in place using the 18V ONE+™ Cordless Nailer with 3.2cm brad nails.
ШАГ 5
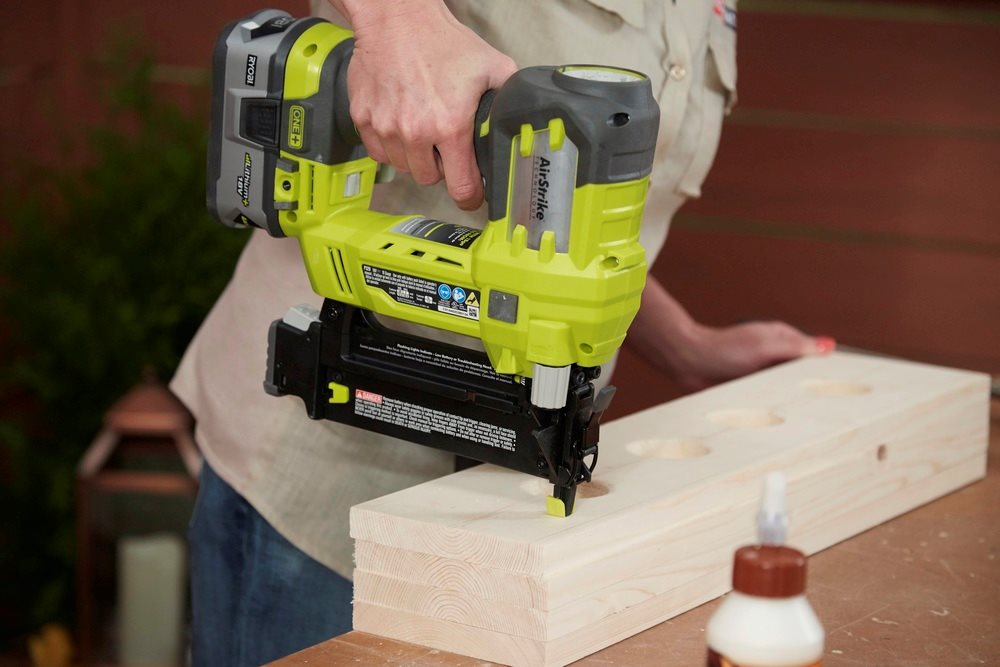
Stack the board with the holes last. Use wood glue on the bottom of this board before attaching it to your other 3 boards and nail in place using the 18V ONE+™ Cordless Nailer.
ШАГ 6
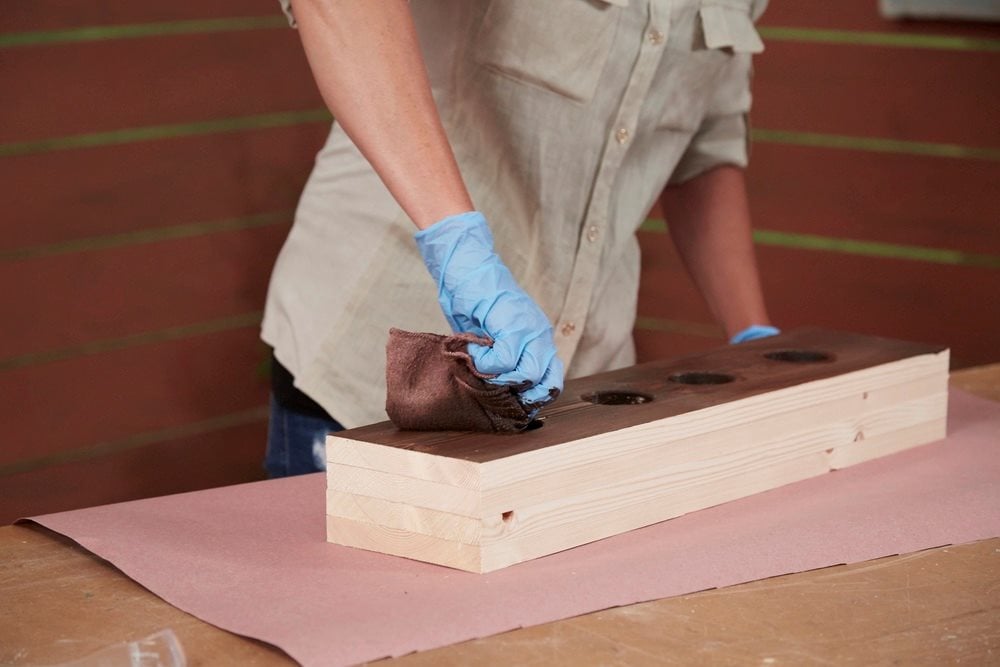
Now finish the block by using your choice of paint or wood stain. To give it a distressed finish use the sander lightly around the block once dry. Attach a metal pull to each each using your 18V ONE+™Cordless Drill.
ШАГ 7
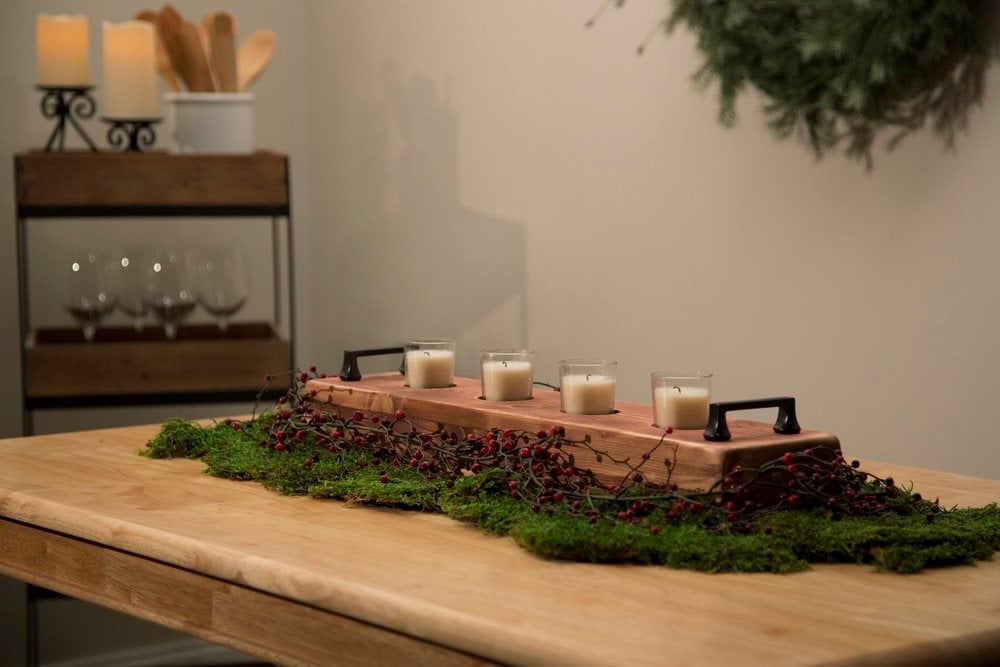
Fill small glass votives with candles and you have a perfect centerpiece! Add Christmas decorations to make it Christmas specific.